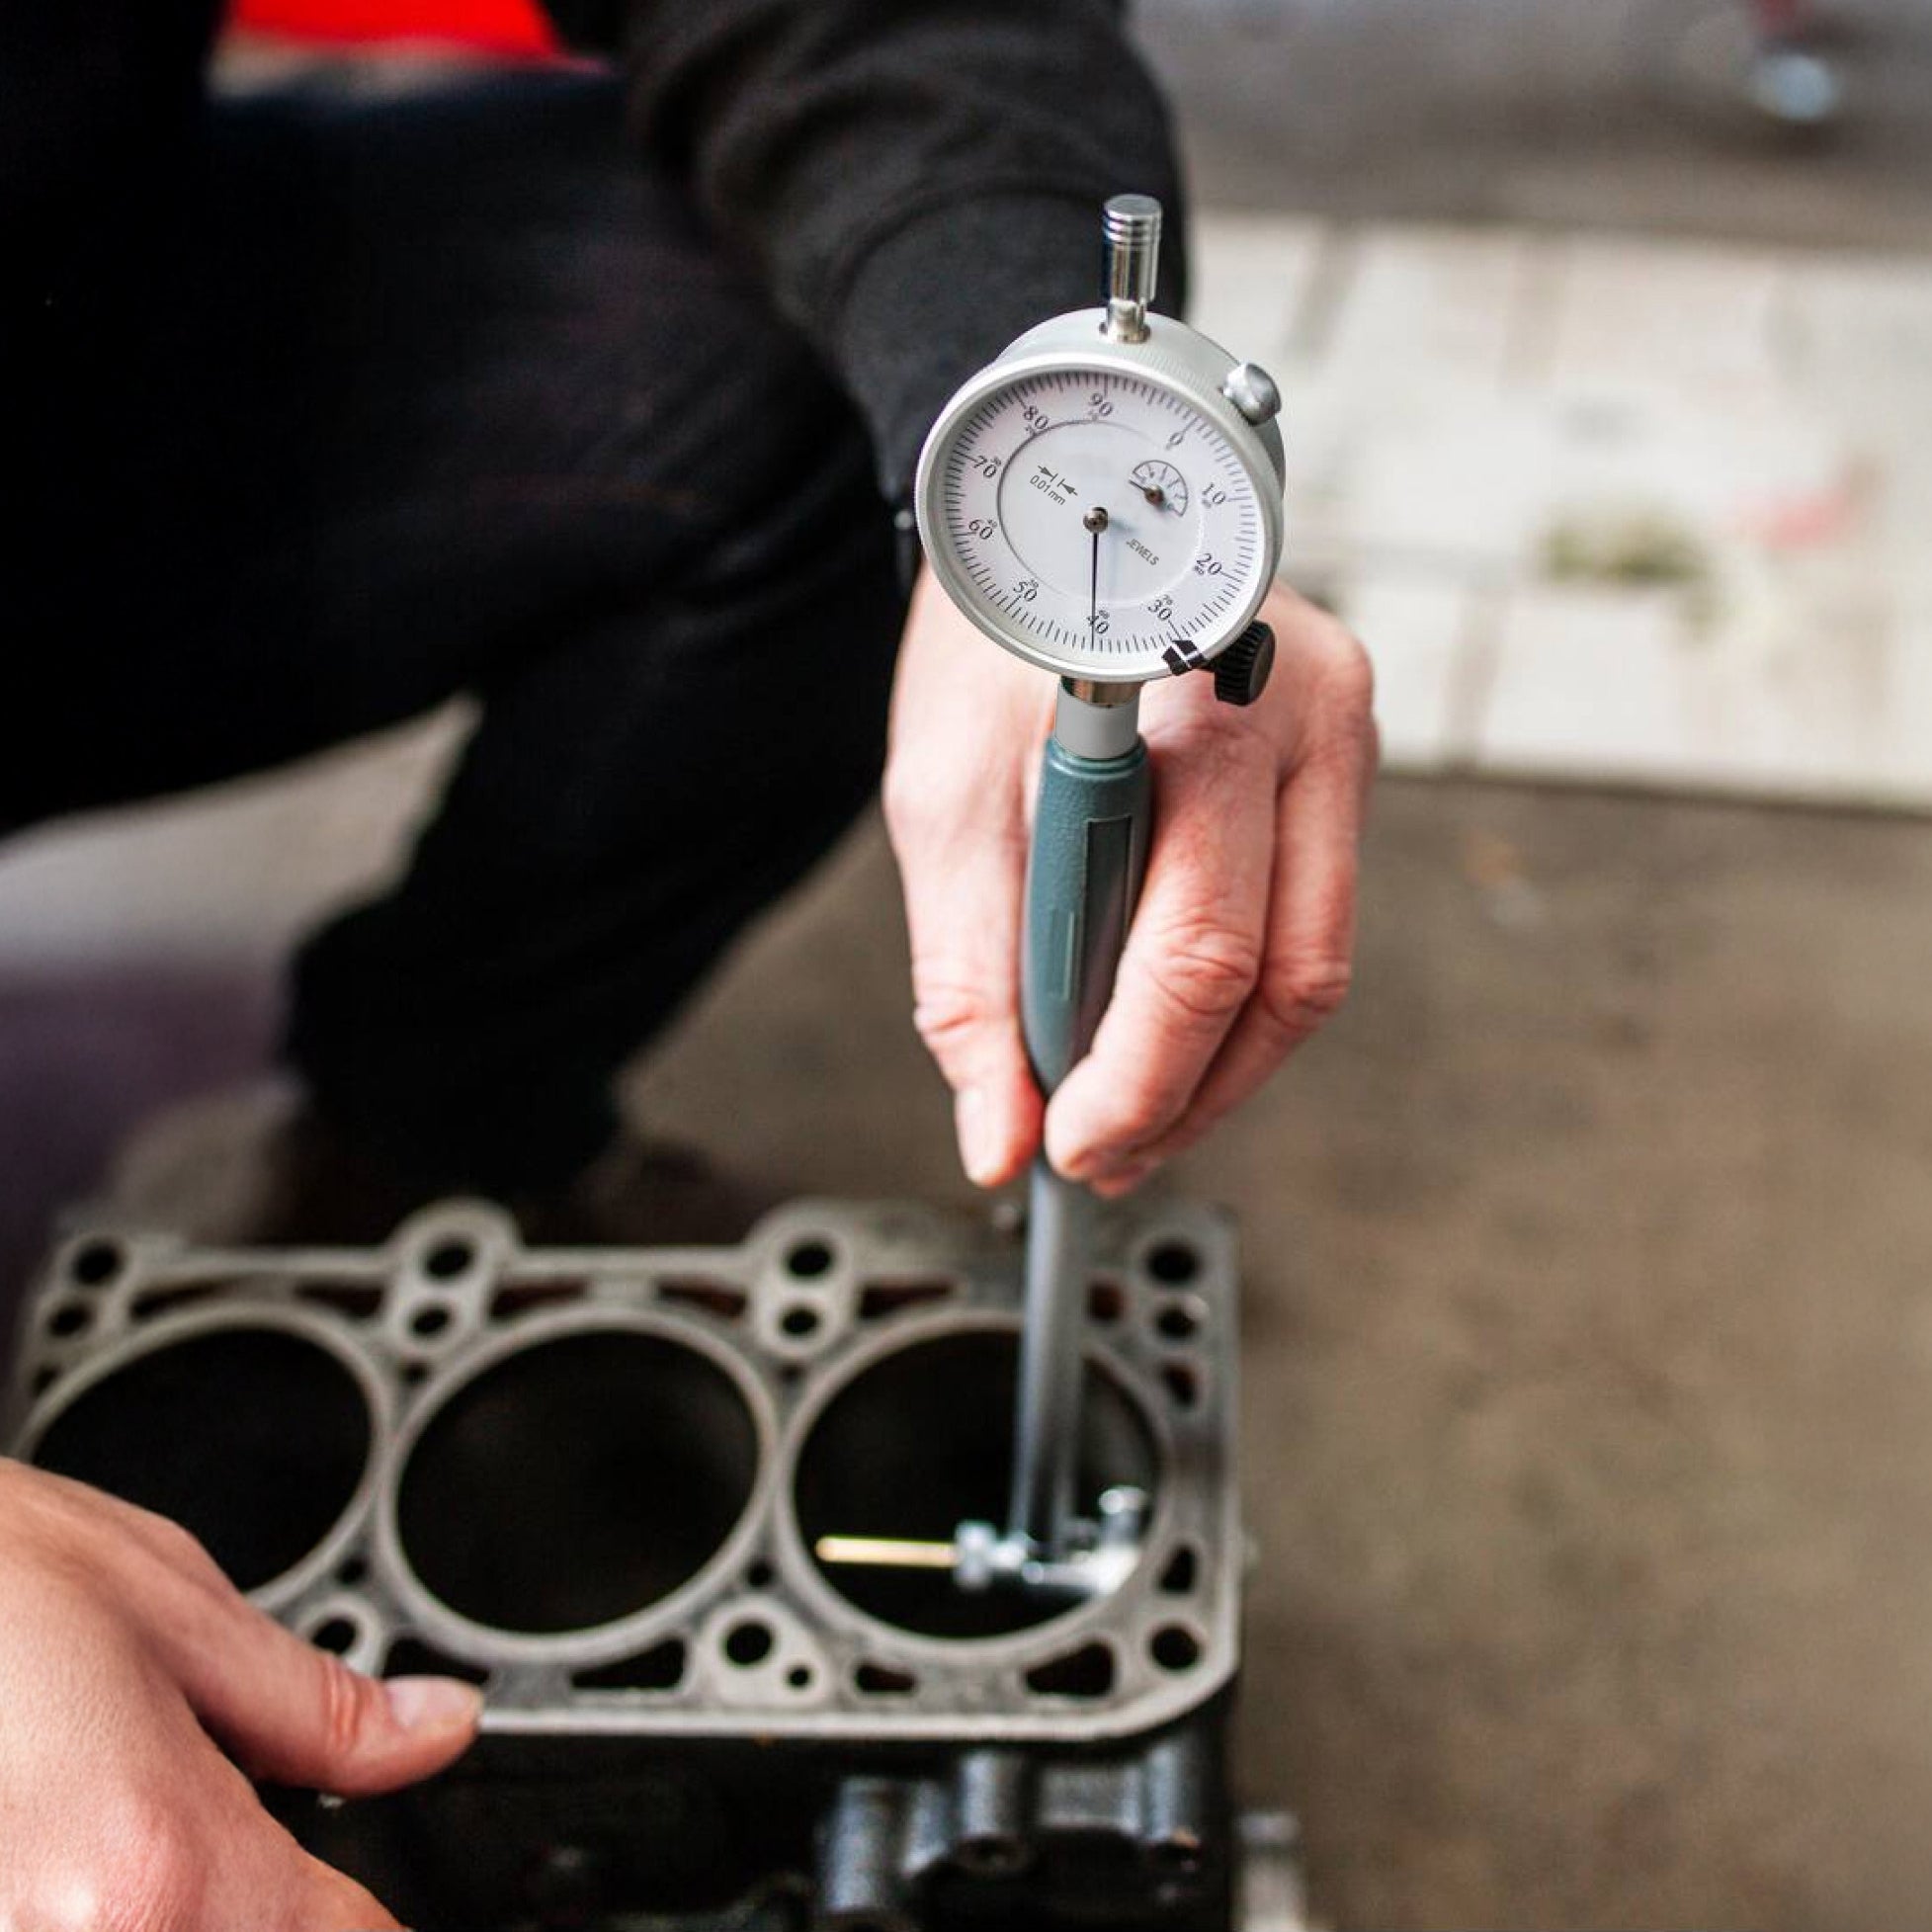
Description
Internal precision measuring instrument for measuring internal dimensions such as cylinders and bores for dimensional accuracy, ovality, and taper. Self-centering with interchangeable probes. By replacing the fixed measuring stop, a wide measuring range can be covered. The use of the precise dial indicator enables measurements with very low error margins.
The set consists of three internal precision measuring instruments with measuring ranges of 18-35 / 35-50 / 50-160 mm. Supplied with a dial indicator (reading 0.01 or 0.001 mm).
- Measuring depth 150mm
- fixed steel measuring bolt
- movable measuring bolt made of carbide
- with dial gauge
- in a robust aluminum case
| Dial gauge reading (mm) | Dial gauge measuring travel (mm) |
| 0.01 | 3 |
| 0.001 | 1 |
Measuring with the internal precision measuring device
Construction
The internal precision gauge is a comparative measuring device for measuring internal dimensions, usually bore diameters. It consists of a measuring head and a shaft, at the end of which the dial indicator is clamped.
A fixed measuring stop is mounted on one side of the measuring head. This can be replaced, allowing the measuring range of the device to be adjusted. This allows for large measuring ranges to be covered. Opposite is a movable measuring pin, whose movement is transmitted to a rod in the shaft and thus to the measuring pin of the dial indicator. Depending on the model of the internal precision measuring device, the travel of the movable measuring pin is 1-3 mm. 
a movable measuring bolt
b fixed measuring stop
c spring-loaded stop bridge with cradle-shaped ends
d shaft
e Redirection of the measuring bolt movement by lever
Default
The internal precision measuring device allows measurements with very low error margins, provided the presetting and measurement are carried out correctly. Before use, the internal precision measuring device is preset as follows:
The interchangeable measuring stop that brings the length of the measuring head closest to the measurement to be measured is mounted. The dial indicator is inserted and clamped with some preload (approximately 1-2 turns).
Since the dial indicator only determines the deviation from a known measurement, a precise internal dimension must be defined using a reference gauge. This reference gauge can be, for example, an outside micrometer, a setting ring, or another setting device. The dial indicator scale is now adjusted so that the 0 on the scale aligns with the position of the pointer at the reversal point. This should be done as precisely as possible to eliminate measurement errors.
measurement
The spring-loaded centering bridge on the side of the movable bolt centers the measuring head in the bore. In the horizontal position, the measuring head must be aligned manually to find the dial indicator's reversal point: Swing the measuring device slightly back and forth until the maximum deflection of the dial indicator's pointer (reversal point) is found. This is the desired measured value. 
a Adjust the measuring instrument to the reference size using the setting ring or gauge block; set the dial indicator to zero
b Insert the measuring head into the bore; determine the bore dimension at the reversal point of the pointer by swiveling the head; read the deviation
Evaluation
The measured value must now be compared with the preset reference value. If the pointer's reversal point is after 0 on the scale, the value is smaller. Therefore, the measured value is subtracted from the reference value. If the reversal point is before 0, the value is larger, and the measured value is added.
Measured quantity = comparison measure - measured value
Example:
The internal precision gauge was preset to 70 mm and a deviation of 0.02 mm was measured. The bore diameter is therefore 70 mm – 0.02 mm = 69.98 mm.
Payment
Your payment information is processed securely. We do not store credit card details nor have access to your credit card information.
Shipping
Orders placed before 12 noon will be shipped on the same day. You will usually receive your goods within a few working days, depending on the destination country. This does not apply to deliveries by freight forwarders.
Ordering information
Do you have questions about the product or need a written quote? Or prefer to order by telephone or email? Contact us on +49 7940 9836622 or at kontakt@asimeto.de.


